If you’re a homeowner looking to do a bit of window sprucing, you’ve probably run headfirst into the very confusing concept of glazing. So how do you glaze a window? Do you look up a recipe? Is this a new see-through application? Does it make them shiny? Does it add a frosted tone?
Well—no.
Window glazing has a lot less to do with glaze than the name implies, so let’s take a few minutes to unravel the true definition and lay out the glazing process.

What is window glazing?
The term ‘window glazing’ refers to three different things: the window glass itself, the sealing compound that holds window glass in the window frame, and the process of installing the glass and/or the compound. Most people use these terms interchangeably, but chances are that if you’re looking to glaze your windows, you’re talking about the process of replacing and installing new glass or new compound.
Now that you have a straightforward definition, you're prepared to undertake this process and answer a few common questions at the hardware store. If someone asks you, “What kind of glaze do you want?” they could mean, “What type of window glass do you want?” or, “What type of sealing compound do you want?”
Let’s take a quick look at both possible answers before diving into the how-to. After all, before starting any project you’ll want to be familiar with the materials you’ll need.
Types of window glaze (window glass)
In general, there are four types of window glaze when referring to window glass:
- Single glaze (single pane)
- Double glaze (double pane)
- Triple glaze (triple pane)
Low-E glaze (energy-efficient panes)
The process of installing new glass panes won’t differ much between glaze types. Triple-glazed windows will be heaviest as they contain three layers of glass, but overall the process is similar. However, you do want to make sure you choose the right glass for your environment, budget, and window size. Different glass gives you different levels of energy efficiency, insulation, light protection, and weather sturdiness.
Types of window glaze (sealing compound)
No matter which type of glass you choose, you need a sealing compound to secure it into your window frame. The traditional window glazing compound is putty, but these days there are other options as well.
Types of window glazing compounds include:
Oil-based putty (lasts decades, but can crack and fall off as it hardens over the years)
Latex-based putty (longer-lasting, but can dry before you have a chance to smooth it)
Window glazing acrylic caulk (similarly to furnishing caulk, works more as a sealant than an adhesive, but is flexible)
Window glazing silicone caulk (currently the most popular with DIY due to price and efficiency)
You’ll have to decide on your glass type whether you’re doing a DIY or a professional installation. But you’ll only need to choose your compound if you’re doing DIY. If you’re hiring professional installers, they’ll undoubtedly arrive with their favorite compound—you won’t have to worry about it.
How do I know if I need to reglaze my windows with new compound or new glass?
A few reasons you may want to reglaze your windows include:
- Improving energy efficiency
- Lowering heating costs
- Investing in home improvement
- Preparing your property for sale
- Fixing window damage
Whatever your reason, there’s never a downside to updating your window glass or compound. Just make sure you start your project when it’s warm. Nobody wants to be stuck with an empty window frame during a blizzard!
How to glaze a window
Now let’s get into the nuts and bolts—although you won’t need any of those when it comes to window glazing.
How to remove old window glazing
Step 1: Remove the old window
To remove your old window glazing, start by removing the window from the window frame. Even if you’re only replacing the compound and leaving the glass, you’ll still want to work safely on a table before reinstalling the window. Removing a window can be simple or complex depending on your type of frame. Ideally, though, you’ll be working with a window frame that includes take-out clips.

Once you’ve located the clips, remove them. If you’re working with double or single-hung windows, you should then be able to gently pull on the window until it disengages and allows you to pull it out.
If you’re working with a historical building or a window frame without take-out clips, you may want to call in professional assistance.
Step 2: Remove the old compound
Using a putty knife, scrape along the sides of the frame to remove the old compound.
If you’re dealing with old compound, it’ll pop right off. If you’re struggling, though, you can always use a heat gun or other (safe) heat source to warm the compound and make it more pliable.
SAFETY NOTE: Always wear safety goggles and a mask when removing the compound. People paint over compound for aesthetics and you never want to inhale anything toxic—especially in older houses, there may still be remnants of lead paint!
You can skip to Step 4 if you’re using a new window frame—just make sure it’s correctly measured to fit.
Step 3: Smooth the sides of your window
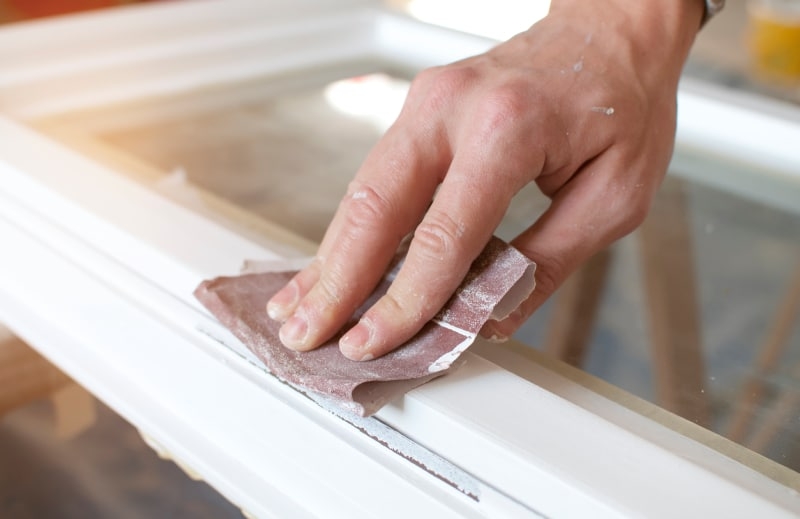
If you’re using the existing window frame, smooth down the sides with sandpaper after removing the compound.

Examine the window frame and use this opportunity to reprime the wood or make repairs at this point.
How to apply new window glazing
Step 4: Secure the window glass
Place the window glass (new or old) into the frame and situate it using small drops of your compound. You won’t need a lot of compound—just enough to hold the glass steady while you perform Step 5.
You can also use small pieces of metal, called glazing points, to help orient and hold your glass while you apply the full amount of compound. Either way, make sure you center your glass before proceeding.
Step 5: Spread the new compound
Spread the room-temperature compound of your choice along the edges of the glass and the frame to create a single cohesive border.
Make sure you don’t leave any gaps between the glass and the frame—that leads to very drafty windows. It’s okay if the compound looks choppy at this point because you’ll smooth it out in the next step. Just be sure to work quickly if you’re using a fast-dry latex putty.
PRO TIP: Apply small amounts of compound and work your way up to larger amounts as needed. You can always add more, but removing dried compound can be labor-intensive and tricky.
Step 6: Smooth the new compound
Clean the same putty knife from before and use it to smooth the compound into the frame. If you’re having trouble with the smoothing process, dip the putty knife into a bowl of heated water. Do NOT touch the compound once it’s smoothed.
Step 7: Clean up the compound edges
Carefully use your putty knife to drag away the excess compound from the edges and remove it from the window. If possible, do not touch the smoothed compound in any way.
This step won’t make or break your glazing process, but too much excess compound tends to look messy and may ooze out to block parts of the glass.
Step 8: Remove excess compound
Using a damp paper towel or cloth, gently wipe any traces of compound off of the glass. You’ll want to do this carefully before the putty dries or it becomes nearly impossible to remove later on.
Step 9: Paint the compound to match
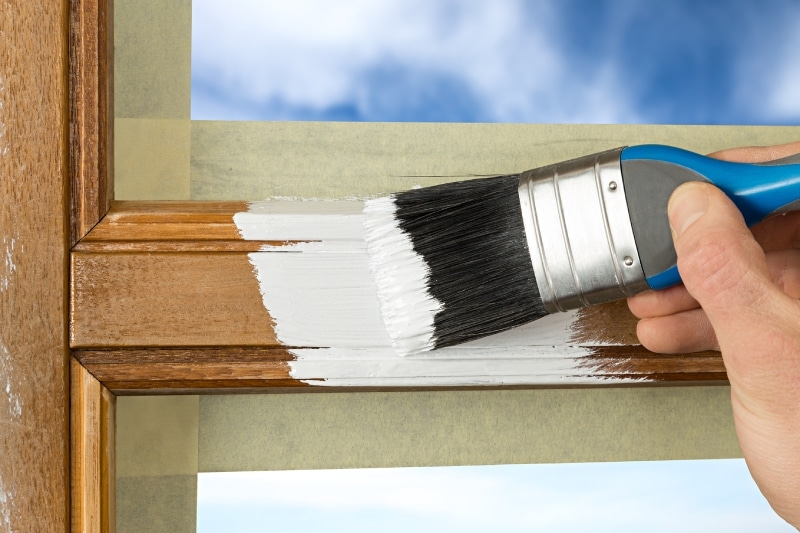
Once your compound is fully dry (check the bottle for a time estimate), paint the compound to match your window frame. This might mean painting the entire window frame if you can’t find an exact match, so make sure you have enough paint on hand.

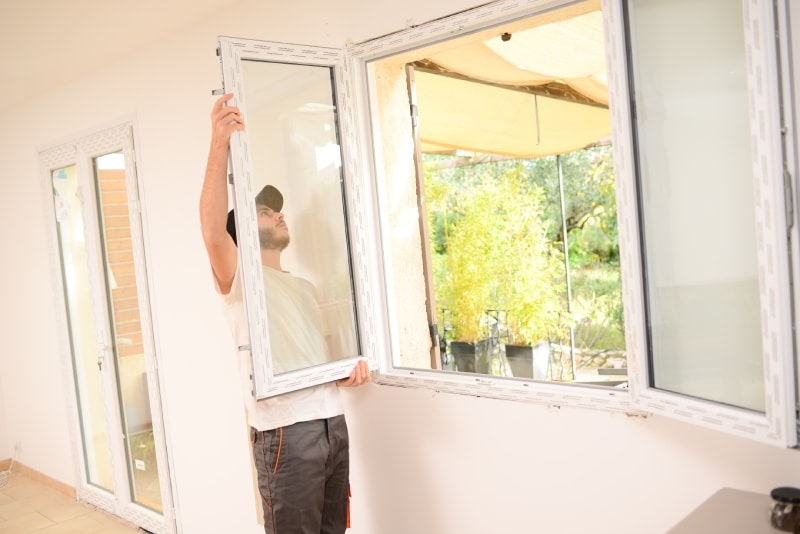
Step 10: Return the window to the frame
The final step: return the window to its place in the wall. If you’re working with your trusty take-out clips, you’ll just reverse the process. Slide the window back in, replace the clips, and call it a day.

Should I DIY my window glazing?
Window glazing can be a fun DIY project, but in most cases, it’s best to leave it to the experts. If this is your first time glazing your windows, here are a few reasons you might want to call in some backup.
Professionals will save you time.
Window glazing seems straightforward because it doesn’t require a lot of tools or materials, but the fact is, it takes a long time—and that’s just for professionals. DIYing your window glaze takes even longer. When you add up the time for the actual process, the time spent watching instructional videos, and the time spent shopping for the right tools, it’s almost always more efficient to call in an expert.
Professionals may save you money.
Many people opt for a DIY solution because they don’t want to pay the money to hire professionals. When it comes to window glazing, however, your wallet won’t thank you for going it alone. Window glass is expensive. If you break that window glass or buy the wrong one, the price only climbs. Plus, most professional installations come with a warranty. There’s no financial protection for DIY windows—even if they’re installed perfectly.
Additionally, you might not mind that your installation looks a little wonky or that you used a bit too much putty, but your realtor will. Poor installations drastically affect home value. If you move, you could be looking at huge cuts in your selling price or hefty bills for a reinstallment. Save yourself the stress and leave it to the experts.
Professionals can prevent injury.
Any construction comes with risks, but window glazing can get extremely dangerous. An important element of successful window glazing is removing the old putty and paint. Many old windows have remnants of lead paint around the border. While it won’t hurt you when it’s left alone, scraping and inhaling lead paint can lead to long-term respiratory problems.
Trained professionals are well aware of the risks and workarounds—from lead paint to broken glass, they can navigate this tricky project with ease. Let them handle the work while you safely watch from afar.
Expert installation makes window glazing simple.
With over 1,000,000 windows installed, Window Nation is ready to take on even the most challenging glazing projects. We offer replacement windows and installation services for any room or window in your home.
Request a free quote from Window Nation today and start your window glazing project with a focus on quality, efficiency, and lifetime satisfaction.


